Freestyle Plateau? Fix Your Swim Technique Today with 4 Tips
"The water doesn't care how hard you pull; it only cares how much resistance you create."
If you find yourself gasping for air after just two laps or feeling like you're fighting the pool rather than gliding through it, your technique is likely leaking energy.
Most swimmers hit a wall not because they lack strength, but because their body position and stroke timing are fighting against the water's natural resistance.
* Efficiency comes from body rotation (the roll), not just arm strength. * A common mistake is lifting the head to breathe, which sinks the hips and creates drag. * Isolating specific movements through drills is the fastest way to break through a plateau.

Why Is My Freestyle Stuck? Identifying Common Technical Bottlenecks
The sun glints off the surface of the pool at the local YMCA at 6:15 AM, and you plunge in, feeling strong for the first 10 meters before your legs start to sink and your breathing becomes ragged. You've been swimming for months, yet you feel like you're treading water more than moving forward.
The primary culprit is often the "flat swimmer" syndrome. When you swim too flat in the water, you force your smaller shoulder muscles to do the heavy lifting, leading to exhaustion within 15 meters.
A proper body roll—rotating between 30 to 45 degrees—is essential to engage your large lat muscles and maximize your reach.
Another bottleneck is the "dropped elbow" during the catch. If your elbow dips too early, you lose the ability to grab a solid mass of water, essentially slipping through the pool without moving. Furthermore, breathing errors often manifest as lifting the head toward the ceiling.
This vertical movement breaks your streamlined profile, causing your hips to drop and your legs to act like an underwater brake.
Finally, consider your kick. If your kick is too large or originates from the knees, it creates massive drag. A productive kick should be a small, rhythmic flutter originating from the hips to maintain balance and a stable body position.
But the problem isn't just about the movement itself; it's about the timing of the cycle.
The Stroke Cycle Breakdown: Mastering the Four Phases of Efficiency
You stand at the edge of the deep end at the community center, watching a competitive swimmer glide effortlessly. They look like they are barely moving their arms, yet they move through the water with terrifying speed.
You realize their power isn't coming from splashing; it's coming from a seamless cycle.
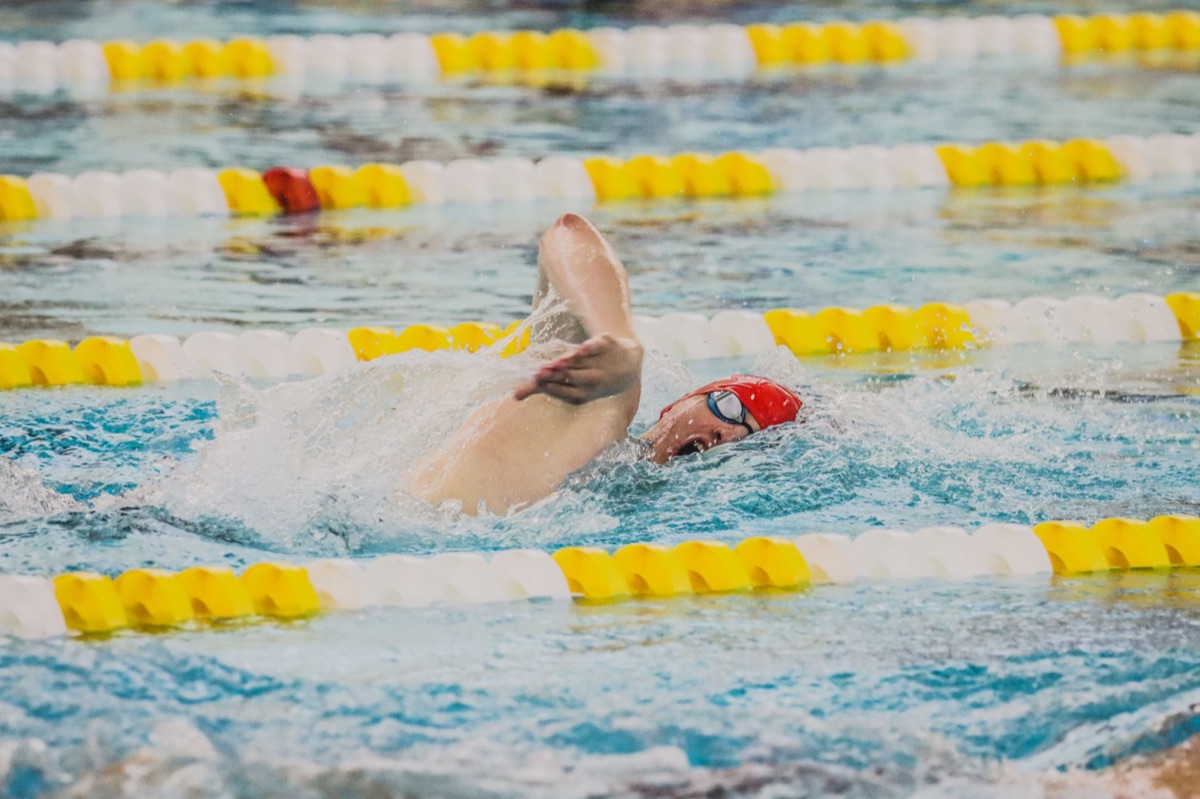
To master freestyle, you must view the stroke as a continuous loop of four distinct phases.
Phase 1: Catch & Pull (The Drive) The catch is where you find your grip on the water. Your hand should move from the initial entry toward your thigh, creating a powerful "S-shaped" pull path.
The goal is to maximize the surface area of your forearm and hand to move as much water as possible toward your body.
Phase 2: Push & Finish (The Glide) As your hand moves toward your hip, the push phase completes the propulsion. You must maintain wrist flexibility to ensure the water is pushed backward, propelling your body forward.
If you release the water too early, you lose the momentum built during the pull.
Phase 3: Recovery (The Reset) Once your hand reaches your hip, it moves through the air. This high-elbow recovery should be relaxed. If your recovery is tense or "heavy," you waste precious energy that should be reserved for the next underwater pull.
Phase 4: Glide (The Momentum) After the kick and pull, there is a momentary glide. Maximizing this glide time—while maintaining a streamlined body position—is how you reduce your stroke count per meter, making your swimming much more efficient over long distances.
However, knowing the phases is different from executing them under pressure.
Targeted Drills to Fix Specific Flaws
You sit on the pool deck at 7:00 AM, towel around your waist, looking at a list of drills scribbled on a waterproof notepad. You realize that just "swimming laps" isn't fixing your mistakes; you need to isolate the movements to rebuild your muscle memory.
When I first started training for a triathlon in 2025, I realized that swimming 2,000 meters of standard laps was actually teaching me bad habits rather than fixing them.
To fix poor rotation, try the Side Kicking Drill. Hold a kickboard with one arm extended and focus solely on the body roll. This teaches you to rotate around your longitudinal axis without the distraction of a full stroke.
To improve your catch and pull, use the Fingertip Drag Drill. During the recovery phase, let your fingertips lightly drag across the surface of the water. This forces a high-elbow position and prevents the "dropped elbow" that ruins your catch.
For breathing synchronization, practice Bilateral Breathing. Try breathing every three strokes to force symmetrical body rotation. This prevents the habit of only turning to one side, which can lead to muscle imbalances and uneven stroke power.
| Drill Name | Primary Focus | Target Problem |
|---|---|---|
| Side Kicking | Body Roll/Rotation | Sinking Hips / Flat Swimming |
| Fingertip Drag | High Elbow Catch | Weak Pull / Dropped Elbow |
| Bilateral Breathing | Symmetrical Movement | Uneven Stroke / Breathing Issues |
| Catch-Up Drill | Stroke Timing | Over-reaching / Poor Coordination |
But even the best drills can fail if you fall into the wrong habits during your main sets.
Common Pitfalls to Avoid
The water is cold against your skin as you prepare for your next set at the local aquatic center. You remember the advice from your coach: "Don't fight the water; move with it." Avoiding these common mistakes is the difference between a productive workout and a frustrating one.
Over-Stretching and Over-Reaching It is tempting to reach as far forward as possible to gain distance. However, over-reaching can cause your body to cross the center line, leading to zig-zagging and shoulder injury. Your hand should enter the water in line with your shoulder.
The "Lifted Head" Trap When breathing, many beginners lift their chin up to look forward. This is a mistake. You should rotate your head so that one eye remains almost entirely in the water. This keeps your body horizontal and prevents your legs from sinking.
The Knee-Driven Kick A kick that looks like "bicycle pedaling" is a massive energy drain. If your knees are bending too much, you are creating turbulence instead of propulsion. Keep your ankles flexible and your power coming from the hips.
If you can avoid these traps, you can begin to structure your own progress.
How to Build a Weekly Training Plan
You look at your watch, noting that your endurance has improved, but your speed remains stagnant. To get faster, you need a structured plan that balances strength, technique, and aerobic capacity.
- The Technique Day (2x per week): Spend 50% of your workout on drills (like the ones mentioned above) and 50% on easy, focused swimming. Focus on "feeling" the water.
- The Interval/Speed Day (1x per week): Perform short, high-intensity sprints (25m or 50m) with long rest periods. This builds the explosive power needed for a strong catch and pull.
- The Endurance Day (1x per week): Focus on longer, continuous swims at a steady, moderate pace. This builds the aerobic base needed to sustain your technique over longer distances.
- The Recovery Day (1x per week): Very easy, low-intensity swimming. Focus entirely on breathing and body position to allow muscles to repair.

Comments 0